
I found this great little table for just $30 on Craigslist and decided to try my hand at chalk paint. I found that the actual painting is super simple, the waxing is a little bit trickier, but very forgiving! Here are my step by step instructions:
- Clean the table with warm soapy water to remove any dirt and grime


STAINING:
- Start sanding - this is what took the longest. I wanted a nice clean surface to work with because I decided to stain the top. Because I was chalk painting the rest, I only had to sand the top.
- Start with a course grit and work your way down to very fine. I used an orbital sander similar to this one. I also used sanding blocks similar to this one from 3M. I love these because they really get in the nooks and crannies. I especially liked how it work around the edges where I didn't want to sand off the detail, but needed to get into the corner.
- I discovered that my table was not solid wood when I hit MDF. Don't sand that far! I was able to cover it up with stain but it did create a lot of extra work.
- Once I was finished sanding I used tack cloth to clean up the dust and was ready for stain.
- I selected Minwax wood finish in the darkest color I could find at my local hardware store.
- Apply stain following the instructions on the can. I had to let extra stain just sit in the MDF spots which was super stressful but in the end it turned out beautiful. I lost track of how many coats I did of stain - I wanted the table dark!
- I chose to use Lacquer on the top instead of polyurethane or varnish mainly because it resists water rings. I'm using this table in the casual dining area and don't want to ever worry about the finish. I did 3 coats of clear lacquer on the top and then got to work on the chalk painting!
 |
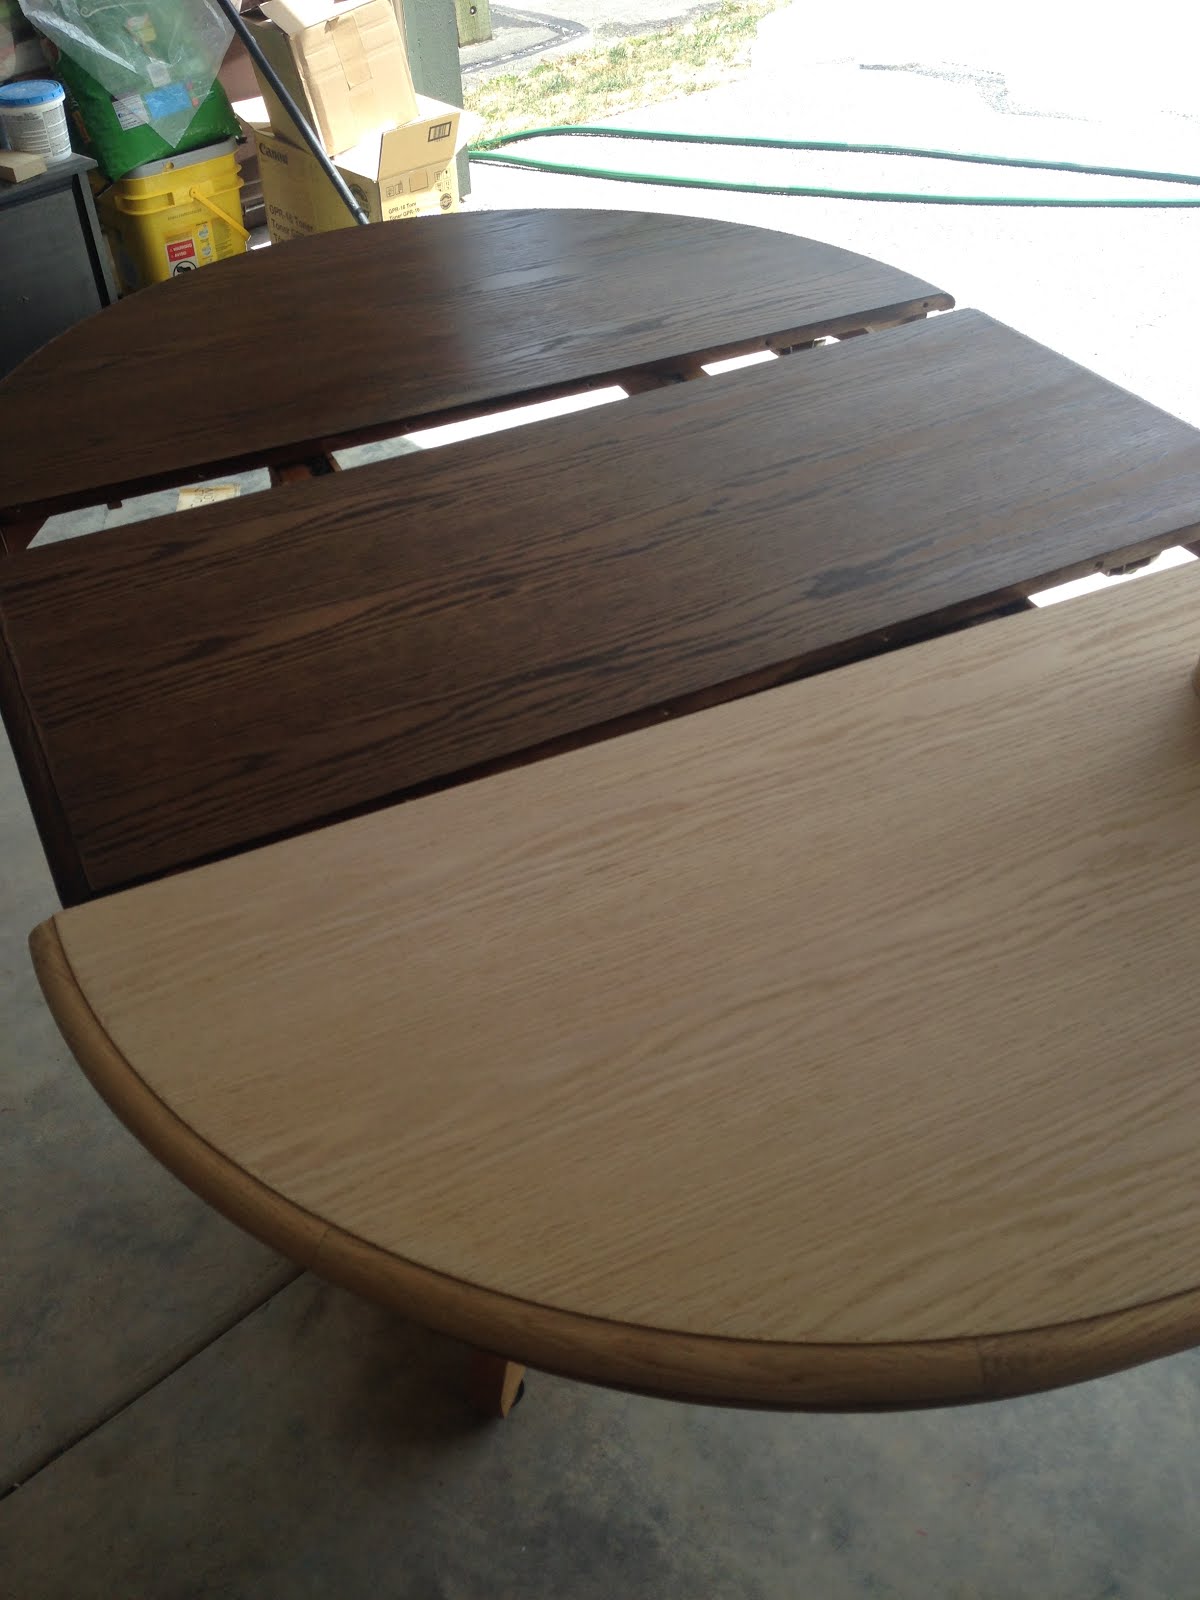
| First coat of stain |
 |
| I just kept adding more coats of stain until I got the color I wanted. |
CHALK PAINT:
I do not claim to be an expert after just one experience. I'm listing what I did but I highly recommend reading through some blogs that have a lot better tips and pointers. I found this one very helpful.
- I chose Annie Sloan paint in antique white because I have heard so many good things about the brand. It is a bit more expensive than others available, and I don't know if it's really worth it because I've not used anything else. I will say, I love the results.
- Painting was very simple and the coats dried quickly. I only did 2 coats and thought it was covered well. I used a natural bristle brush for the paint and it covered smoothly without too many brush marks. Any marks were covered with the second coat of paint.
- Wax - I also used Annie Sloan clear wax. It goes on simply enough following the instructions on the can. You really have to work it using small amounts, otherwise it gets sticky. I used a plastic knife to take out some wax which is the consistency of crisco. I then used a wax brush to dab into the wax and spread on the paint in circles.
- I apparently used too much wax and even after buffing was left with a sticky table. The instructions on the can said to apply more which would soften the already hardened wax and allow me to rework it. I followed the instructions and was left with a less sticky table. I definitely learned my lesson - less is more with the wax! I finished the table a year ago and it's still a little tacky but doesn't seem to be attracting dirt or anything.
 |
| After first coat of chalk paint - a little streaky |

No comments:
Post a Comment